Article: How to make handmade ceramics?
How to make handmade ceramics?
The whole of Denmark has fallen in love with handmade ceramics. We can feel this in our warehouse, where we are busy packing and sending our beautiful ceramics every single day.
But it can also be felt on Instagram. More and more people are starting their own pottery workshop every single day - it's fantastic.
See e.g. the beautiful ceramics of our potters right here .
But how does a brown lump of clay become a beautiful masterpiece such as a ceramic bowl, plate or mug? Yes, that is exactly what we will try to explain here.
The different techniques for making handmade ceramics
There are a number of different techniques that can be used to make ceramics. Depending on how much time you want to put into the art of shaping ceramics, you can pick and choose between the various methods.
Basically, it works by shaping a lump of wet clay into either a bowl, vase, cup or something completely different! After the clay has dried, it is baked at a VERY high temperature in a large industrial oven. (However, you can also use smaller ceramic ovens, which are significantly cheaper).
On a superficial level, the process is much the same when the most skilled potters and artists create their incredibly beautiful works. However, we are going to introduce you to a few different techniques below.
If you lack inspiration, you can try searching for #keramik on Instagram and go exploring there. There are SO many amazingly talented potters out there. Here you can e.g. see a few of our favorite cups from Sabella.


First, the clay is given shape
As I said, you can make handmade ceramics in many different ways.
If you have a clear idea of how your pottery should look when you have finished shaping it, it can help you decide which method is most suitable for your particular handmade pottery.
As an example, ceramics can be shaped with plate technique, turned up (as you've probably seen in the classic Ghost), rolled up or modelled. The aforementioned methods are some of the most widespread techniques for making handmade ceramics for your own use, or if you want to make ceramics on a hobby level.
If you want to make a LOT of ceramics, so that you can sell at fairs, to other companies, or to restaurants, etc., it is more common to turn, overturn and mold the clay.
In this article, however, we will only talk about the methods you can use if you want to make handmade ceramics for your own consumption.
Round & symmetrical ceramics
The first thing most people think of when they think of handmade pottery are the round and symmetrical items that can be found at many of your local potters. It can, for example, be ceramic bowls , mugs , vases, plates , cups , etc.
It is also primarily around ceramics that have been hand-turned that you can find here in our ceramics universe .
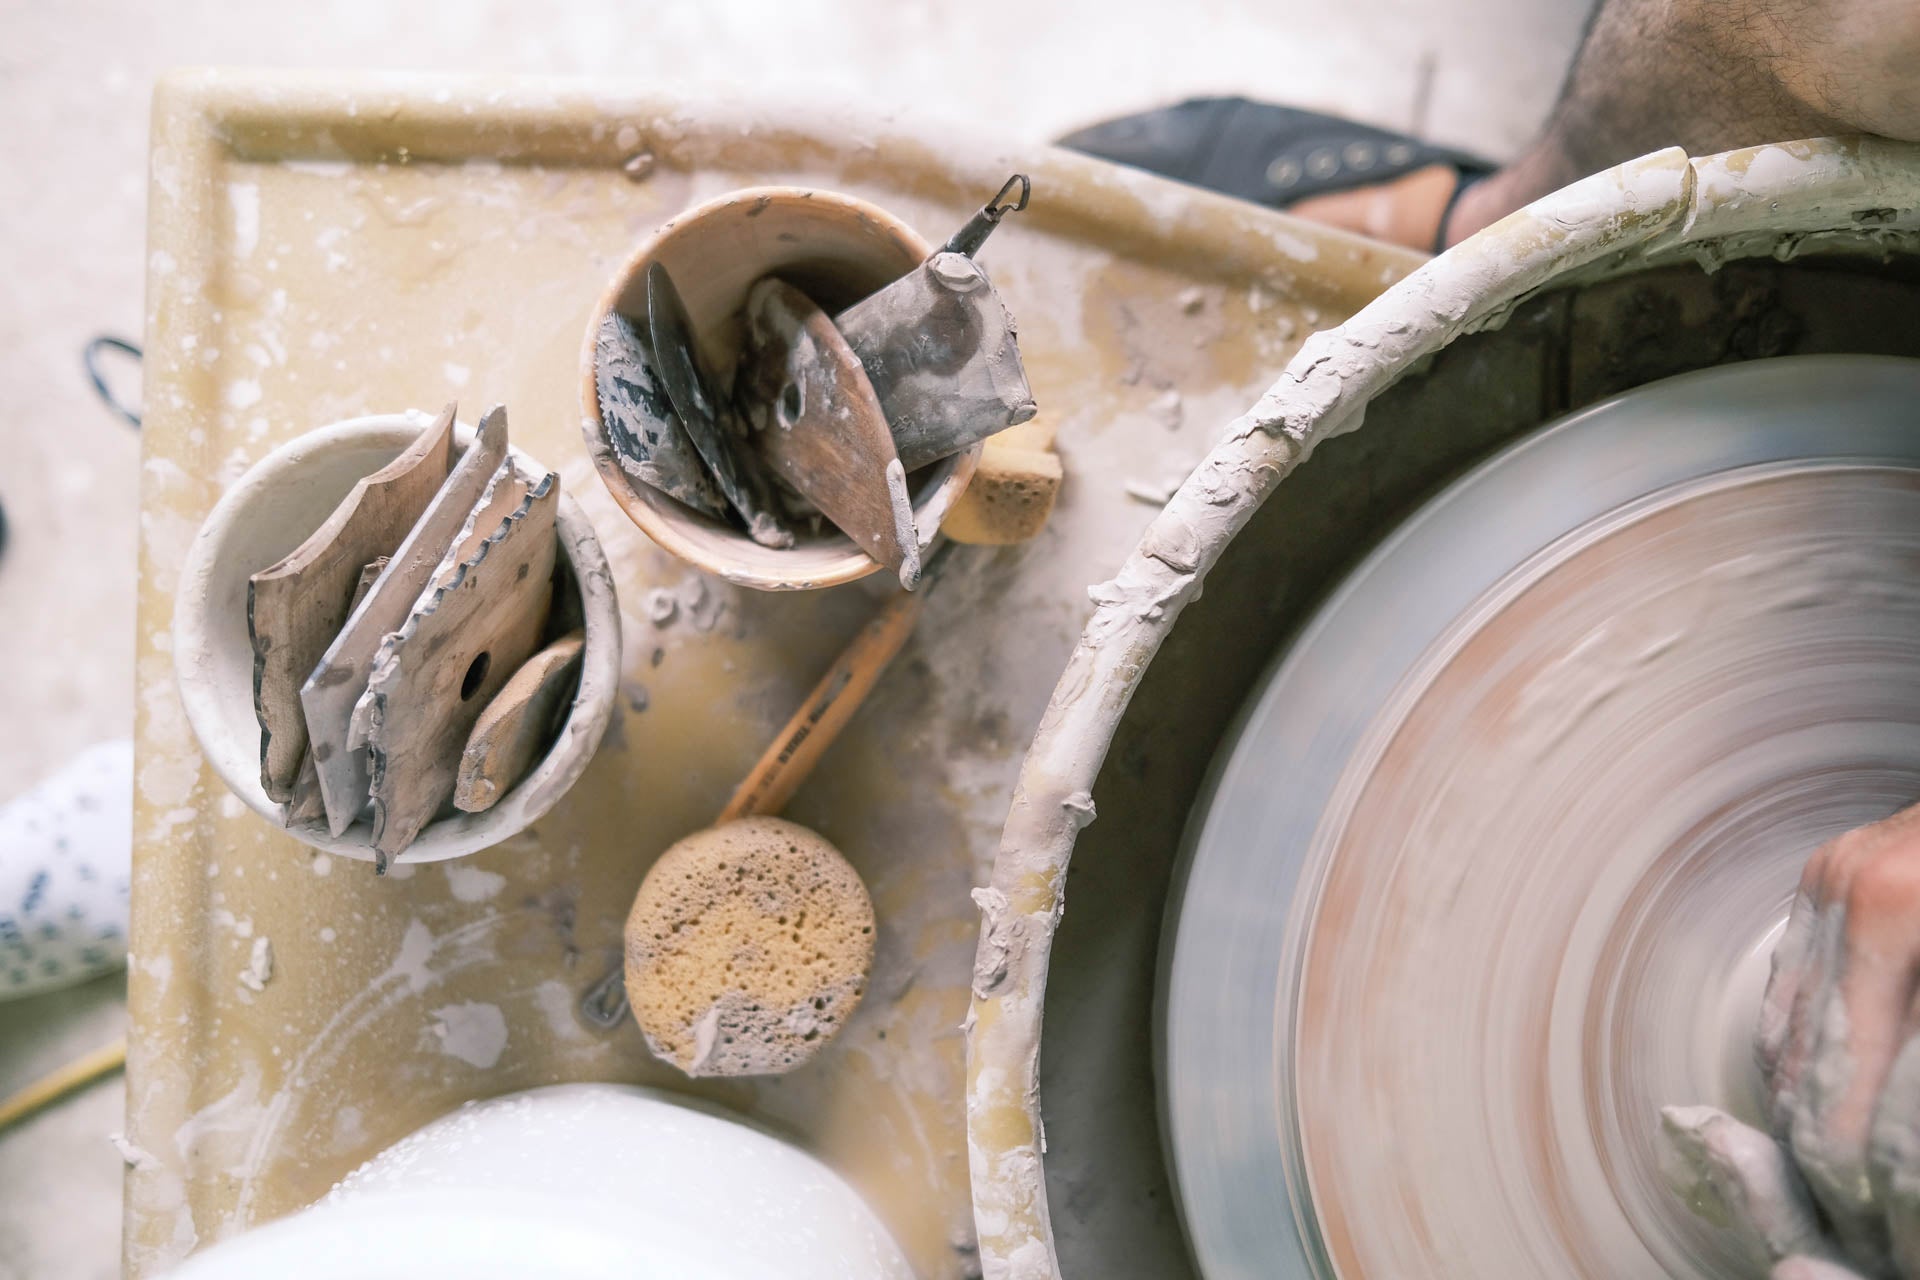
The round shapes are naturally easy to turn on a turntable. Such a turntable is operated by the potter stepping on a foot plate that keeps the disc moving. If you are a little more modern, you can use an electric turntable, where the speed of the disc can be controlled using an accelerator.
How do you turn ceramics?
First, you must estimate how many grams of clay you need for your ceramics. If it e.g. is a tea mug, around 150-200 grams are often used, whereas if you want to turn a dish or a vase, you should use more like 500-1000 grams.
Then you cut your lump of clay and weigh it on your scale until you reach the desired weight. The clay is then placed in the middle of the disc and made moist. Before you start giving the clay any shape, it must first be centered. This means that you have to start the turntable and with your hands, try to center the clay while giving the same shape as a hockey puck.
You know your clay is centered on the turntable when it appears as a completely uniform shape in the middle of the disc, and when the disc turns, it does not wobble from side to side.
After the clay has been centered on the turntable, a hole is pressed into the center of your hockey puck and the clay is pulled up or out, depending on the type of handmade pottery you want to make.
It is important that the clay is kept wet while turning and that you try to give the clay approximately the same thickness all over so that it does not break during firing.
Ceramics with edges - Plate technique
If, on the other hand, you want to make ceramics with edges, which are not symmetrical, you can make it by hand using the plate technique.
Plate technique is a manufacturing method where the clay is rolled out into uniform flat plates, which are then assembled into the shape you want your handmade ceramics to have.
You put your sheets of clay together by making scratches in the surface of the clay where the sheets are to be joined, and applying a mixture of water and clay to the areas, which in potter's parlance is called licks. Once your mixture has been applied to the scratched areas of the planes, they can be pressed together and the joints smoothed out with your fingers.
If you don't want to go out and invest in professional ceramic equipment, the scratches can be made using a fork from the kitchen drawer. Nothing more is needed.
Ceramics with organic forms - Modelling
If you do not want to make either round and symmetrical or angular ceramics, the ceramics can be modeled up. When modeling, most people choose to use the sausage technique, but there are several different approaches to making ceramics in organic forms.
With the sausage technique, you start by rolling your clay into elongated sausages, as if you were making peppercorns. The clay sausages are then placed on top of each other, pressed together, and smoothed out until you arrive at your desired shape of fit handmade ceramics.
If the sausage technique does not work for you, you can also create organic shapes in ceramics by starting with a form of plate technique, after which the shape is processed, for example a vase or jar with an organic expression.
Last but not least, you can also use a turned shape and process this until it gets the shape you want. It will often be easier to model further on a turned form than to start the modeling from scratch.
The ceramics must then be fired
When your handmade ceramic jar, vase, bowl, mug, cup or plate has exactly the right shape, it must first dry. Here it is very important that the clay is completely dry before it is fired, as water in the clay can otherwise cause your ceramics to crack during firing. When the pottery is no longer moist from shaping, it is fired for the first time in a pottery kiln.
So you can't just use your own kiln to fire your ceramics. Ceramics must be fired - not baked.
During the first firing, the ceramics are typically fired at over 900 degrees. The exact temperature depends on what type of clay is used and how big your handmade ceramic item is.
From the first firing, your ceramics will be hard, but still very fragile and porous.
The pre-annealed ceramics are glazed
When the first firing is hopefully well over, the ceramics must be glazed. This is where you really have the opportunity to give the ceramics your personal expression and be creative.
There are many different ways and styles that can be used when glazing ceramics. Our ceramist Heidi Vang typically glazes with a single layer of glaze, which gives the individual ceramics plenty of opportunity to shine through and show how beautiful it is.
Whereas our ceramist Sabella always uses at least 2 different glazes, and plays creatively with the different expressions that the mixture of the beautiful glazes can give the ceramics.
Ceramic glaze is made from a variety of minerals and rock types. There are some potters who even develop their own ceramic glazes so that it matches the temperature they fire at and the design the potter wants to create.
the ceramic glaze is first mixed with water, after which it is applied to your pre-fired ceramics. There are a multitude of different techniques for glazing ceramics. Among other things, you can pour the glaze over your ceramics with a cup, dip your ceramics in a bucket with the glaze or spray the glaze on your handmade ceramics.
When the glaze has dried, the ceramics must be put in the oven and fired again, where the temperature is determined by the type of clay you have used.
Earthenware clay melts if it is fired at the same high heat as stoneware clay and porcelain, so it is important that you keep the different types of clay separate and know which clay you are working with.
The glaze firing is a process that lasts several hours, and the ceramic kiln must be completely cooled before you can take out your finished ceramic cups, mugs, plates or vases.
Read more

2023 Christmas gifts - Christmas gift ideas for inspiration
Christmas gift ideas for inspiration 'It's the thought that counts' - they usually say, and it is therefore good enough. There is nothing better than knowing that someone has really thought about...
Read more